When I bought my house, I decided to have a red library. Like blood red. Murder red. That project required lots of heavy handed removal of some pretty epic wall paper and a few friends with brushes. Oh, and buckets and buckets and buckets of blood...uhhh... I mean red paint.
After the painting, McGriddle Pants and I deemed the library REDRUM. Sometimes we even do our Danny impressions in there, but that's a story for another day. Fast forward to the internet phenomenon of Pinterest, combine that outlet with my love for shelves, big and small and you get the following:
I've seen on Pinterest, small shelves build out of dresser drawers,


and this and I thought to myself,
I'm handy and junk!
The Boy can play power tools with me!
I can build something like that for the REDRUM!!
Off to the ReStore I went in search of drawers. My local store had quite a selection. It took 2 serious car loads to get my purchase home. I waited until they had a 50% off day, because even though $2 - $5 is cheap, I'm cheaper. $28 later, I had filled my garage with empty drawers. After about three months of stumbling over them, wrestling laundry around them, hearing them crash in the middle of the night when the cats played in them, I FINALLY started my project. Honestly one of the only reasons I waited so bloody long in the first place is I am currently also refinishing my hardwood floors. So I had to finish that room before I could put the shelves in... or so I tell myself...
So here's what I did:
1.) Buy a crap load of drawers on the cheap
2.) Store them in the garage for an extended amount of time
3.) Remove all hardware (drawer pulls, roller brackets, odd screws, etc.)
4.) Remove any wall paper or contact paper linings
5.) Start sanding, then sand, sand, sand... I should probably mention that you should wear some sort of mask while you do this. No one likes dust boogers.
6.) Measure the wall on which you would like your shelves to go
7.) Find a flat open area and tape off your wall measurements (this is so you can get a feel for where everything should go, without accidentally making it 11 feet high for 8 foot ceilings)
8.) Lay out your project.

Take a picture of this. You'll probably want to refer back to it later, but chances of it really looking like this are pretty slim. It's almost like playing reverse Tetris. Almost.
I wanted some negative spaces in mine, to hold knik-knacks and such, so I spaced the drawers out here and there. Planned on putting some wood shelves between some (you can see my mock up shelves in the middle of the photo) and I wanted to remove most, if not all of the press board backing. Knowing that this was going to go onto a white wall, I thought it would be cool to have that show through randomly.
9.) Take your hammer and remove some press board. You will probably have to re-support those shelves with nails, because they are not really sturdy without the backs, but the stuff came out fairly easy. Watch for wood staples after this step. And wear some safety glasses. Safety first man. Safety first.
10.) Decide what end you are going to start with and start bringing those shelves, a couple at a time, into the spot you want to eventually have your shelves. You could just screw everything together where it sits, stain it or paint it, and then try to wrestle it into the spot you eventually want to have it, but there is always (for me anyhow) something. Something doesn't fit, or gets in the way, or is lopsided and you didn't realize it, or breaks or whatever else. So, start fitting your drawers together a few at a time. Since I had so many different styles of shelves it took a variety of screw sizes to make this work. I used 4 screws to attach each drawer to the next. Screwing from below so that the screws are not as visible on your bookshelves.
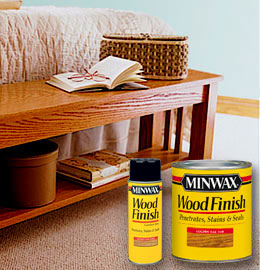
11.) I set up all of the left side, then separately set up all of the right. They do nestle together, but are two large pieces just in case I get the urge to move it. I spread out a tarp on the REDRUM floor, gently moved the shelves onto the tarp and stained the whole thing with Minwax Wood Finish - Natural Stain. Because that's what I had, and that's what I wanted. I love how each drawer (now shelf) is made different and is accented by this light stain. You could also paint it if you want like they did in the photos above.
12.) When your stain (or paint or whatever you decide to use) dries, move the shelves back to where you want them and bracket them to the wall.
13.) Add some shelves inside some of the larger drawers, fill it with books, knick-knacks movies or whatever your little heart desires.

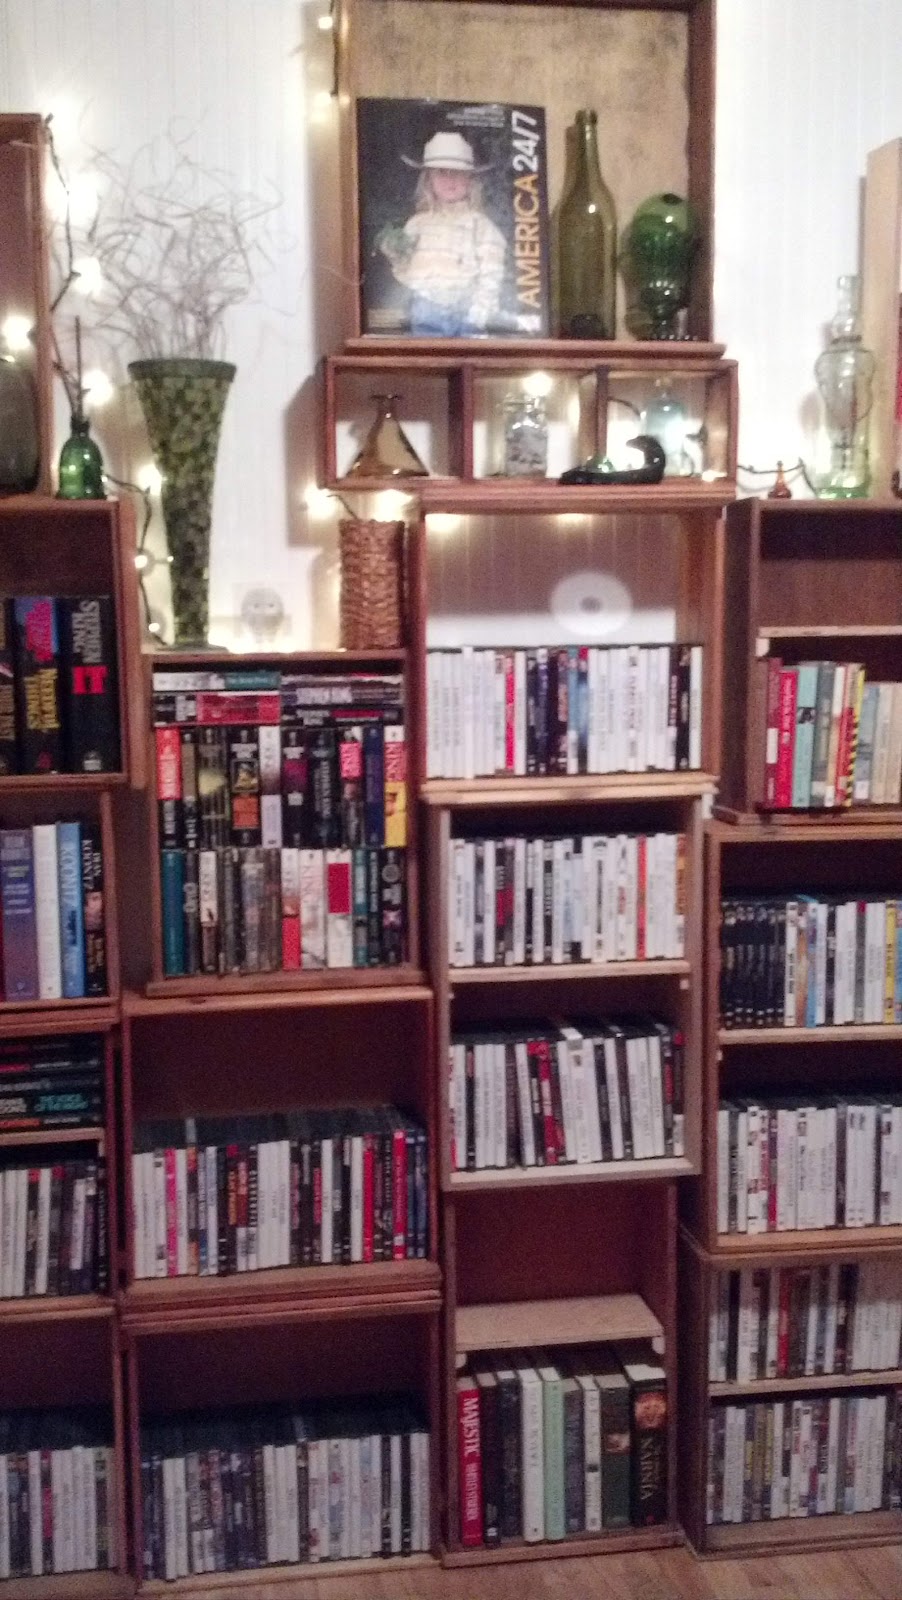


And there you have it! Sadly my library is too small to get a picture of the whole thing, but if you have questions, just ask. I'd be happy to answer :)